
A spoiler-light GRAVHOUNDS walkthrough: mission order, which planets to push, when to bank a run, and how to clear the early systems.
GRAVHOUNDS Walkthrough: Early Access Mission Order
GRAVHOUNDS does not have a story campaign with numbered chapters. It has a progression of planets, objectives and swarm tiers, and a walkthrough is really a route through that difficulty curve. The short version: clear the tutorial, bank two safe runs in the starting system, unlock a second weapon, then push one system deeper only when you can extract without losing a turret line.
Early Access ships with 7 solar systems and 25 planets. The demo covered the first two systems and seven planets, so returning demo players already know the shape of the opening. What changes at launch is the number of biomes, the blueprint pool, and the five-hound roster.
Official source: GRAVHOUNDS is OUT NOW in Early Access ↗ — 7 solar systems, 25 planets, 5 playable Gravhounds, 22 turrets and deployable systems.
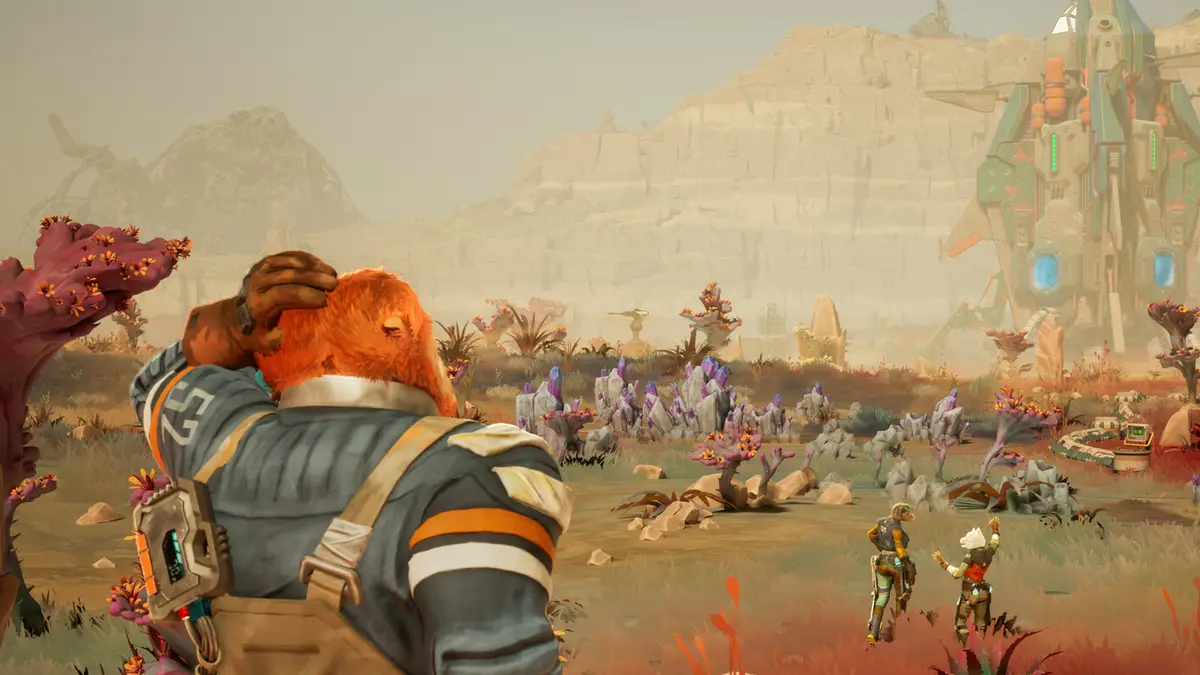
The route in one table
| Phase | Goal | Leave when | Unlocks |
|---|---|---|---|
| 1. Tutorial | Finish the onboarding shift | Scripted | Multiplayer, first weapon |
| 2. Starter system | Bank two clean extractions | One objective + one pod | First mods, basic turrets |
| 3. Second system | Clear a Refinery defense | Two pods + full resource load | Character and blueprint progress |
| 4. Hazard worlds | Hunt blueprints and rare materials | Objective done, not when the bar empties | Higher-tier deployables |
| 5. Deep systems | Test a finished build | One Showstopper online | Endgame mod chasing |
The mistake is treating phase 5 as a destination. It is a stress test for a build you already understand.
Phase 1: finish the tutorial, then leave
The tutorial teaches movement, mining, the Grav Beam and the first pipeline. It does not teach extraction discipline. Complete it, then host or join a multiplayer session — multiplayer unlocks before solo, and friends can carry you through the first real drop.
Do not spend your tutorial rewards on cosmetics or side grades. Bank them. The first meaningful purchase is a weapon platform you will still use at hour ten.
Phase 2: two clean runs in the starter system
The starter system is the classroom. Run the same planet twice rather than hopping:
- Run A is a Titanium run. Build the minimum base, learn the swarm timer, extract with a full load.
- Run B is an Electrium run. Add a second generator and one more turret, then test whether your kill box actually holds the second tier.
Two clean runs teach you more than five messy ones because you can compare them. If run B collapses, the problem is your base layout, not your aim.
This is also where you should start the Mod Deck Builder. Once you have unlocked a few mods, build a ten-card common deck around one idea — crit, turret support, or movement — and put one Showstopper in the flex slot. The deck controls what reward pods can offer, so a focused deck produces focused runs.
Phase 3: the first real defense
The mid-game introduces objectives that must survive, not just be reached. The Refinery and Coffee Cat both have health bars, and both punish a base that only protects the collector.
A working defense for this phase has three parts:
- A forward screen. One or two turrets placed where the swarm spawns, not where it arrives. Their job is to thin the wave, not to survive.
- A main kill box. Overlapping fire on the only path to the objective. This is where the damage lives.
- A repair route. A pipeline you can grind from the objective to the collector in under ten seconds, so a bad wave does not become a lost run.
If the objective is far from the collector, build the pipeline first and the turrets second. A defended objective with no supply line is a timer, not a position.
The swarm pathing prefers the objective, which means the objective is the most reliable place to build your kill box. Let it be the bait; do not stand on it.
Phase 4: blueprint hunting without greed
Blueprints are the reason to push past the comfortable planets. The Dev Log added a Star Map readout showing how many blueprints each planet still holds, which turns hunting from guesswork into a checklist.
Rules for a blueprint run:
- Pick one planet, not three. Blueprint spawns are spread across the map, and route optimization beats raw speed.
- Clear the side activity that guards the blueprint before you build a permanent base. Shrines and teleporters are worth the detour.
- Extract after the blueprint, even if the meter is half full. The blueprint is permanent; the meter is not.
- If a teammate goes down in the last thirty seconds, leave them. A dead packmate costs one run; a failed extraction costs the blueprint.
The resources guide maps which planet types are worth a full strip and which are one-blueprint-and-out.
Phase 5: deep systems and the Juggernaut
Deep systems are where the Juggernaut shows up. It is a boss-level swarm unit, not a raid boss: it does not need a mechanic puzzle, it needs space, damage and a fallback.
The fight is won before it starts. Clear a 20–30 meter ring around the arena, put your turrets outside the ring rather than inside it, and keep one pipeline open as an escape lane. When the Juggernaut commits, you want to be moving sideways, not backwards into your own walls.
The boss guide covers the phases and the mistakes that turn a winnable fight into a base wipe.
What to do when a run goes wrong
Three recovery patterns cover most disasters:
- Collector surrounded: abandon the outer ring, fall back to the inner corridor, and let the turrets trade. Do not try to save forward turrets.
- Power out: kill the nearest swarm cluster with weapons, then repair the generator chain. A dead generator is a bigger threat than a dead turret.
- Teammate left behind: the run is over for them. Bank the loot, then re-host and rejoin. Do not orbit the planet waiting for a revive that cannot happen.
The power generator guide has the outage checklist; the multiplayer guide covers rejoin behavior.
A note on difficulty
GRAVHOUNDS does not ask you to pick a difficulty before the drop. The difficulty is the planet, the swarm timer and the number of players. A four-player pack gets more enemies but also more turrets, more revives and more bodies to hold a lane.
If you are struggling, the fix is usually not a harder build. It is a shorter run, a tighter base, and a lower-tier planet. The difficulty guide explains how the scaling works and why solo is a different game rather than a harder one.
FAQ
How many planets are in GRAVHOUNDS Early Access? 25 planets across 7 solar systems at launch. The demo contained seven planets in two systems.
Do I need to finish the tutorial to play with friends? No. Multiplayer opens before tutorial completion; solo requires finishing it.
Is there a story order? No. Planets unlock through progression, but you can replay earlier ones for materials and blueprints.
How long does a full clear take? There is no full clear. The loop is repeatable, and the swarm escalates within each run rather than across a campaign.
Should I rush the Juggernaut? No. Fight it when your build has a Showstopper online and your base can survive a wave without you standing in it.
Further reading
Summary
Clear the tutorial, bank two starter runs, build a real kill box around the first defendable objective, then hunt blueprints one planet at a time. The beginner guide covers the first hour; the extraction guide covers the decision that ends every run.
More GRAVHOUNDS Guides
Build a GRAVHOUNDS base that survives escalating swarms: site selection, four defensive layers, power placement and layouts for solo to four players.
A first-shift walkthrough for GRAVHOUNDS: what to mine, where to build, how pipes pay for themselves, and when to call the ship.
A complete GRAVHOUNDS build for hard planets: rapid-fire crit weapon, turret support deck, Dozer mines and the exact 10-card Mod Deck.
The best GRAVHOUNDS character for solo, duo, four-player packs and boss runs, with the reasoning and the loadout each hound enables.
A practical GRAVHOUNDS Juggernaut guide: arena preparation, phase behavior, turret placement, team roles and the mistakes that wipe the base.
How GRAVHOUNDS builds work: the 10-card Mod Deck, Showstoppers, weapon choices and the stack rules that decide whether a run snowballs.