
Where to put GRAVHOUNDS turrets for overlapping fire, how elevation changes line of sight, and the placement mistakes that wipe bases.
GRAVHOUNDS Turret Placement Guide: Kill Box Geometry
A GRAVHOUNDS turret does not care how much it costs. It cares where it stands. Two identical turrets placed ten meters apart can differ by a factor of three in damage dealt, because one covers the approach and the other covers a wall. Placement is the skill ceiling of base building, and it is the difference between a base that holds the third wave and one that folds on the second.
The launch build ships 22 turrets and deployable systems. Rather than list every blueprint, this guide groups them by role and gives the geometry that applies to all of them.
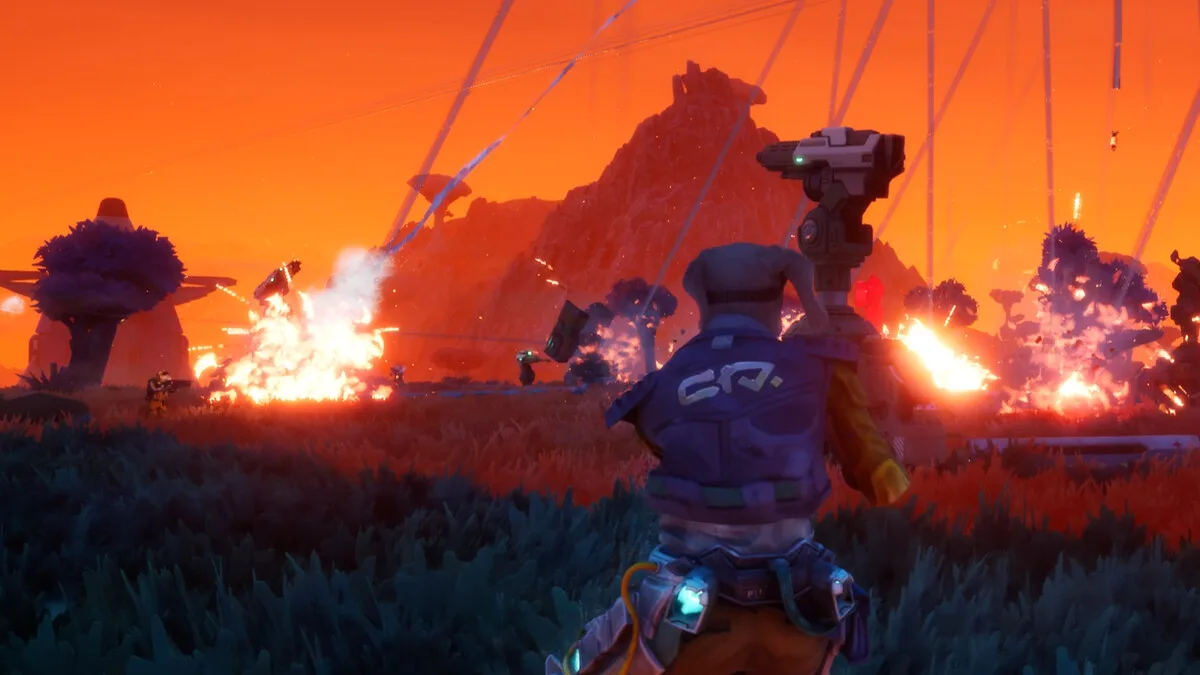
Official source: GRAVHOUNDS on Steam ↗ — 22 turrets and deployables, 4 weapons plus the Grav Beam, and physics-driven base building.
The three rules of turret placement
Rule 1: Overlap at the entrance, not at the collector. Enemies should enter a kill box and meet two or three firing arcs at once. If your turrets only overlap at the collector, the wave arrives at full strength and you are defending the last ten meters instead of the first ten.
Rule 2: A turret needs to see the spawn, not the path. Line of sight to the spawn point lets a turret start firing before the wave reaches the base. Turrets that only see the corridor spend half the wave waiting.
Rule 3: Never put a turret where you need to stand. The player's job is to plug gaps, revive and repair. A turret in the middle of the corridor blocks your movement and gives the swarm cover.
Kill box shapes
The shallow U
The default. Two arms of turrets facing the approach, collector at the base of the U.
        spawn
          |
   [T]        [T]
     \        /
      \      /
       [collector]
Why it works: both arms fire into the same entrance, and the collector is behind the crossfire rather than inside it.
Weakness: flanks. The open sides of the U are the first place a swarm will leak. Put your screen turrets there, or anchor the U against a cliff.
The funnel
A natural chokepoint with turrets on both walls.
 spawn --> [narrow gap] --> [collector]
              [T] [T]
Why it works: the enemy can only arrive in single file, so every turret fires at full uptime.
Weakness: if the funnel is long, the front turret takes all the damage. Rotate it to the back of the funnel and let the rear turrets carry.
The island
A raised platform in the middle of open ground, turrets on the rim, collector underneath.
Why it works: 360-degree coverage and excellent line of sight.
Weakness: no natural approach, so the swarm surrounds it. Only use an island with four or more turrets and a strong generator chain.
Elevation: the free multiplier
Height changes what a turret can see, and seeing more of the map is worth more than a damage upgrade.
- One level up clears the heads of your own structures. This is the minimum for any turret behind a wall.
- Two levels up sees over the kill box and can fire at the spawn. This is where your main damage turrets belong.
- Too high and the turret cannot depress enough to hit enemies at the base of the platform. Keep the platform shallow.
Raised pipe nodes are the cheapest elevation in the game. A node is a platform, and a turret on a node sees over the pipe it sits on.
Upgrading the floor under a turret costs less than upgrading the turret, and it improves every turret you place afterward.
Placement by turret role
| Role | Best position | Worst position | Notes |
|---|---|---|---|
| Direct fire | Kill box arm, one level up | Front of the corridor | Needs sustained line of sight |
| Explosive / area | Back of the kill box, elevated | Inside the corridor | Smaller blast radius since launch |
| Support / buff | Center of the base | Forward screen | Must cover the most turrets |
| Deployable / disposable | Screen or flank | Collector | Meant to die; do not repair |
| Long range | Highest point, rear | Low ground | Punishes spawn clustering |
The Courtesy Turret deserves a note: upgraded, it can spawn higher-tier turrets you have already unlocked, which makes it a support piece rather than a disposable one. Place it where it can see the whole kill box.
The screen: placement that is meant to fail
A screen is one or two turrets placed forward of the main line, close to the spawn. Their purpose is to:
- Start damage before the wave reaches the kill box.
- Pull aggro for a few seconds.
- Reveal which lane the swarm is using.
Screens die. That is their job. Do not repair a screen mid-wave, and do not connect it to the main power spine. A screen on its own small generator is ideal; a screen on the main grid is a blackout waiting to happen.
Blind spots to check before every wave
Walk the kill box and look for these:
- The dead angle. A spot where no turret can fire because a wall, pipe or structure blocks it.
- The under-pipe gap. Enemies walking beneath a raised pipe are invisible to turrets on top of it.
- The back door. The approach behind the collector that nobody built for.
- The respawn lane. Where downed players crawl back in. Turrets should not fire into it, but enemies should not be able to camp it.
A thirty-second walk around your own base before the first wave finds more problems than any upgrade.
Turret count by wave tier
| Wave tier | Minimum turrets | Composition |
|---|---|---|
| 1 | 2 | Two direct fire |
| 2 | 4 | Three direct, one area |
| 3 | 6 | Four direct, one area, one support |
| 4 | 8–10 | Overlapping mix, two screens |
| 5+ | 10–12 | Full kill box, replaced screens |
If you are below the count and cannot build, the answer is to extract, not to fight. The extraction guide covers the call.
Upgrades that change placement
Two upgrade paths change where a turret should stand:
- Range upgrades move a turret from the kill box to the rear, where it is safer and still covers the entrance.
- Splash upgrades make a turret better against clumps, which means it should cover the funnel mouth rather than the corridor.
Do not upgrade a turret that is already in the wrong place. Move it first.
FAQ
How many turrets should a solo player build? Two or three, all covering one approach, on raised nodes.
Is it better to have more turrets or better turrets? More turrets until the kill box is covered, then better turrets. Coverage first, damage second.
Do turrets shoot through walls? No. Walls block friendly fire, which is why elevation matters.
Should turrets be on pipes? Yes. Nodes are free platforms and elevation.
What kills turrets fastest? Melee swarm units that reach the base of the platform. Kill them before they arrive, or put a screen in front.
Further reading
Summary
Overlap at the entrance, elevate the damage, keep the screen expendable, and walk your own blind spots before every wave. The base building guide covers the layers around the kill box; the tier list covers which turrets are worth the Titanium.
More GRAVHOUNDS Guides
A complete GRAVHOUNDS build for hard planets: rapid-fire crit weapon, turret support deck, Dozer mines and the exact 10-card Mod Deck.
Build a GRAVHOUNDS base that survives escalating swarms: site selection, four defensive layers, power placement and layouts for solo to four players.
A first-shift walkthrough for GRAVHOUNDS: what to mine, where to build, how pipes pay for themselves, and when to call the ship.
The best GRAVHOUNDS character for solo, duo, four-player packs and boss runs, with the reasoning and the loadout each hound enables.
A practical GRAVHOUNDS Juggernaut guide: arena preparation, phase behavior, turret placement, team roles and the mistakes that wipe the base.
How GRAVHOUNDS builds work: the 10-card Mod Deck, Showstoppers, weapon choices and the stack rules that decide whether a run snowballs.