
A complete GRAVHOUNDS build for hard planets: rapid-fire crit weapon, turret support deck, Dozer mines and the exact 10-card Mod Deck.
GRAVHOUNDS Best Build: Crit-Turret Hybrid for Red Planets
Most "best builds" in extraction games assume perfect drops. This one assumes the opposite: no Showstopper, no lucky pod, no carry from a teammate. It is a crit-turret hybrid that comes online in the first five minutes, scales through the mid-game, and still has a real answer to the Juggernaut.
It is the build to learn before you experiment. Once you can clear a red-band planet with it, you understand which parts are load-bearing and which are preference.
Official source: GRAVHOUNDS on Steam ↗ — four weapons, 60 mods and 22 deployable systems give the build its moving parts.
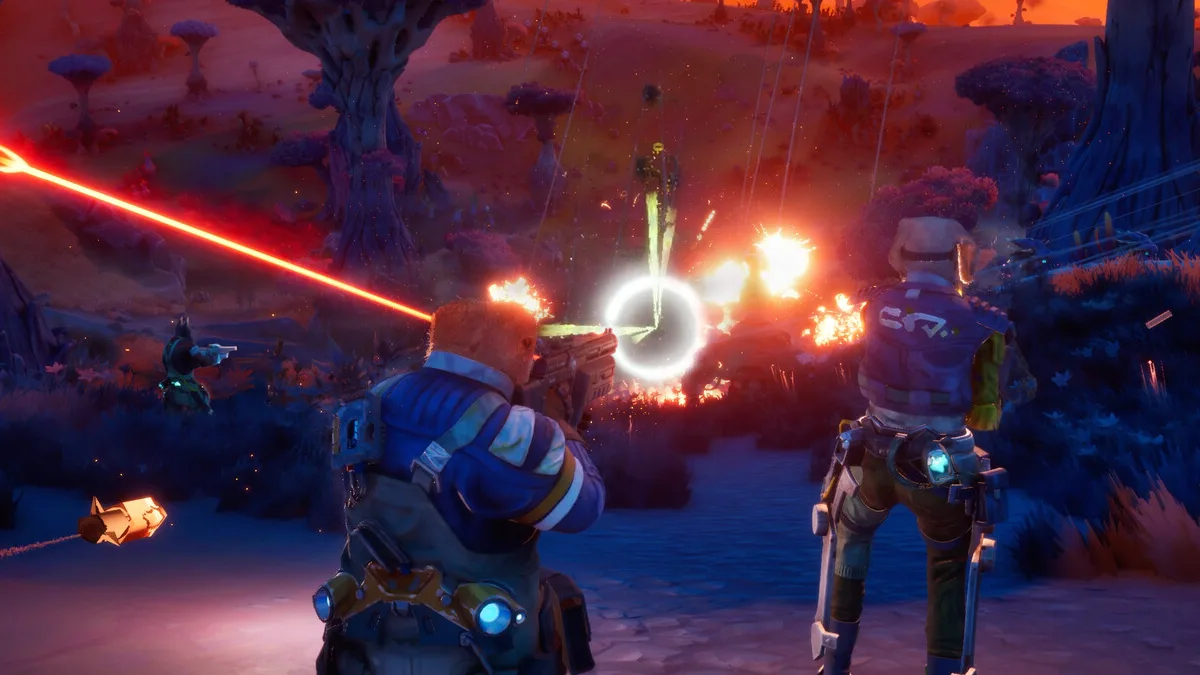
The build at a glance
| Slot | Choice | Why |
|---|---|---|
| Character | Dozer | Bone mines add area damage without a mod slot |
| Weapon | Rapid-fire | Highest crit-trigger frequency |
| Primary trigger | On crit | Frequent and stackable |
| Secondary | Turret damage | Covers the moments you cannot shoot |
| Turrets | 2 direct fire, 1 area, 1 Courtesy | Kill box plus free bodies |
| Deck | 10 common, 0–1 Showstopper | Consistent pods |
| Extraction style | Early, full backpack | The build is strongest at minute 8–14 |
Why Dozer
Dozer places bone-shaped mines. That gives the build three damage sources — gun, turrets, mines — without spending a mod slot on area clear. The mines also cover the one weakness of a crit build: a swarm that arrives from two directions while you are tracking a priority target.
Zane's Bark is a better panic button for solo players, and Finn's Play Dead is the strongest survival tool in the game. If you are learning the build, Dozer is the most forgiving; if you are pushing a boss, Finn is the safer pick.
Selene and Luna are also playable at launch, but their abilities were not detailed before release, so this build does not rely on them.
The 10-card deck
The deck is built around one rule: every card either triggers on crit, supports turrets, or keeps you alive.
- Crit chance
- Crit chance
- Crit damage
- Crit damage
- Fire rate
- On-crit area damage
- Turret damage
- Turret fire rate
- Movement or dash cooldown
- Heal on kill
Showstopper slot: take one only if it converts crits into area damage or duplicates turrets. If the pod offers neither, skip it and keep the deck at ten.
Why no ammo mod? The rapid-fire weapon's ammo economy is solved by firing in bursts and by the heal-on-kill card keeping you alive long enough to reposition. If you find yourself dry every wave, swap card 9 for an ammo refund.
The turret package
Four turrets, all Titanium-efficient:
- Two direct-fire turrets on the kill-box arms. These carry the build when you are mining or reviving.
- One area turret at the funnel mouth. It clears the clumps that a crit build cannot kill fast enough.
- One Courtesy Turret near the collector. Upgraded, it spawns higher-tier turrets you have unlocked, which turns a cheap slot into a scaling one.
Placement follows the standard geometry: overlap at the entrance, elevation on the arms, screen forward and expendable. The turret placement guide has the diagrams.
Do not upgrade the Courtesy Turret before the two direct-fire turrets. It is a support piece, not the main gun.
The run, minute by minute
0–3 minutes: drop, scout, place the collector on high ground with one approach. Build the power spine and one direct-fire turret. Mine the near Titanium ring.
3–6 minutes: second direct-fire turret, area turret at the funnel. Start the resource trunk. Take your first pod and complete the crit package.
6–10 minutes: Courtesy Turret, second generator, exit pipe. This is the build's power spike: crit chance is online, turrets are online, and the base can survive without you for a full wave.
10–14 minutes: push the objective, hunt the blueprint, take the second pod. If the swarm tier has risen twice, this is the extraction window.
14+ minutes: only if the base is overbuilt. The build does not get stronger after minute fifteen; the swarm does.
Damage math, without fake numbers
The build multiplies three things:
- Crit frequency from the rapid-fire weapon and two crit-chance cards.
- Crit value from two crit-damage cards and the on-crit area card.
- Uptime from turrets covering the moments you are not shooting.
The mistake is over-investing in the third and neglecting the first two. A turret build with no crit is a slow build; a crit build with no turrets is a build that dies while mining. The hybrid exists because the run has both problems.
Substitutions
No rapid-fire unlocked? Precision works, but swap one fire-rate card for an ammo card and aim for weak points. The build becomes slower and more punishing.
No Courtesy Turret? Take a second area turret. The build loses scaling but keeps its floor.
Playing solo? Swap one turret card for a second movement card. Solo has no revive, so escape is the survival stat.
Playing with a dedicated turret player? Drop both turret cards for crit and ammo. Let them own the base; you own the boss.
What beats this build
- Shielded enemies that ignore crit damage until the shield breaks. Bring the area turret forward.
- Anchored ranged enemies that outrange the kill box. Push the screen out or use the Grav Beam to pull them in.
- The Juggernaut in a confined arena. The build wants space to strafe; a cave fight removes its main advantage.
- A late extraction. The build peaks early. Greed is the real counter.
Two Showstoppers in a ten-card deck means eight cards doing the actual work. One is the ceiling for this build; the second is usually a downgrade.
FAQ
Is this the strongest build in the game? It is the most consistent. A perfect physics build has a higher ceiling and a much lower floor.
Can I run it without Dozer? Yes. Zane for panic, Finn for survival. The deck does not depend on the character.
How many turrets should I build? Four is the floor for red-band planets. Six if the base has two approaches.
Do I need a Showstopper? No. The build clears red-band planets without one; a Showstopper only raises the ceiling.
What should I upgrade first? Crit chance, then the two direct-fire turrets, then the generator.
Further reading
Summary
Rapid-fire crit, two damage turrets, one area turret, one Courtesy, ten focused cards, extract at minute fourteen. The build guide explains the deck rules; the tier list explains which pieces are replaceable.
More GRAVHOUNDS Guides
The best GRAVHOUNDS character for solo, duo, four-player packs and boss runs, with the reasoning and the loadout each hound enables.
How GRAVHOUNDS builds work: the 10-card Mod Deck, Showstoppers, weapon choices and the stack rules that decide whether a run snowballs.
Build a GRAVHOUNDS base that survives escalating swarms: site selection, four defensive layers, power placement and layouts for solo to four players.
A first-shift walkthrough for GRAVHOUNDS: what to mine, where to build, how pipes pay for themselves, and when to call the ship.
A practical GRAVHOUNDS Juggernaut guide: arena preparation, phase behavior, turret placement, team roles and the mistakes that wipe the base.
How GRAVHOUNDS character unlocks work, why demo progress does not carry over, and the fastest progression path to the full five-hound roster.