
Twenty practical GRAVHOUNDS tips for movement, mining, pipe routing, reward pods and extraction discipline that the tutorial never explains.
GRAVHOUNDS Tips and Tricks: 20 Habits That Save Runs
Most GRAVHOUNDS advice falls into two buckets: mechanics you can read on the store page and habits you only learn by losing a full backpack. The twenty below are the second kind. They assume you already know the loop — drop, mine, build, defend, extract — and want to stop losing runs to avoidable mistakes.
The game is 1–4 player co-op, and it launched into Early Access on November 2, 2026. Everything here is based on the launch build, not the demo, so a few demo-era habits are now wrong. Where a patch changed behavior, the tip says so.
Official source: GRAVHOUNDS on Steam ↗ — physics-driven base building, pipelines and escalating swarms.
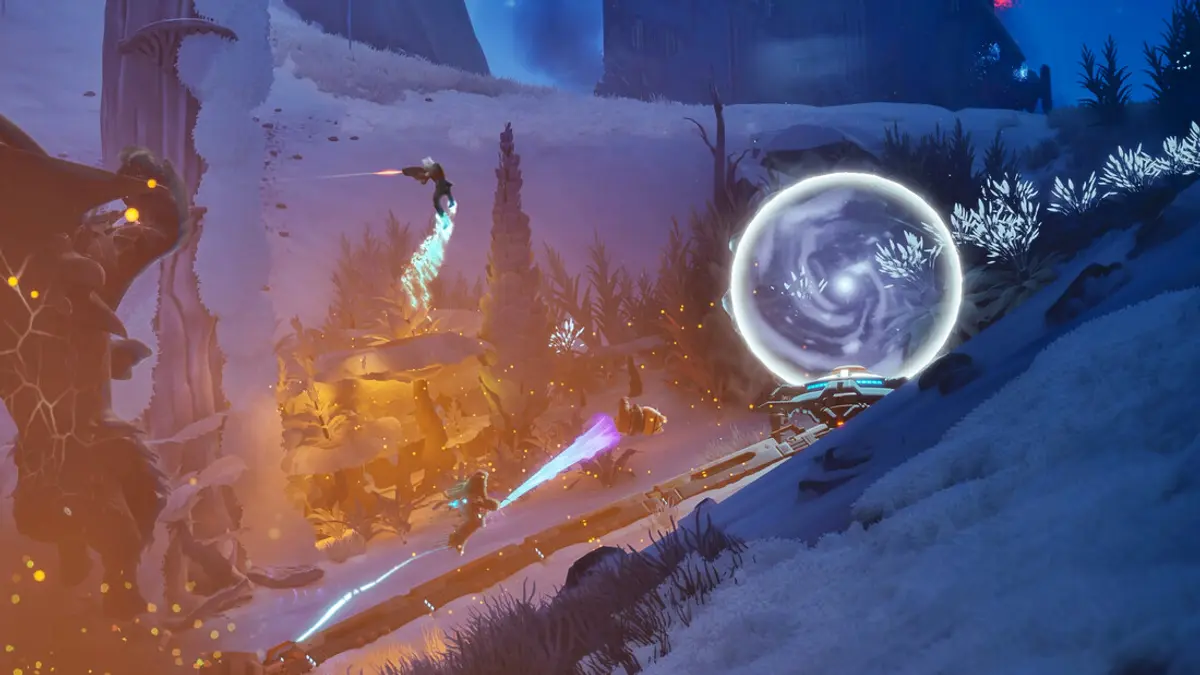
Movement and positioning
1. Dash on the ground is free. Use it constantly. The demo build charged for ground dash; the patch that shipped before launch removed the cost. If you are still walking between turrets, you are losing DPS.
2. Grind the pipe, but not into a fight. Pipeline travel is the fastest way across the map. It is also the most predictable. Break line of sight before you commit, or you will arrive at the collector with a Gooper already aiming at you.
3. Boost sideways, not backwards. Backpedaling keeps you inside the swarm's cone. A lateral boost costs the same and takes you out of it.
4. Learn the teleporter ring. Planets now carry teleporters and shrines. A teleporter is worth more than a shortcut: it lets a downed teammate rejoin without crossing the map.
5. Never dash off a ledge during a boss. The Juggernaut fight is won by lateral movement, and a fall costs you the window you just created.
Mining and resources
6. Titanium first, always. Structures, turret mounts and pipeline segments all compete for it. Electrium without Titanium is a generator with nothing to power.
7. Break Electrium cores onto the pipe. The Dev Log confirms that releasing crystals directly onto a pipeline is one of the fastest collection methods, and that the collection is now credited correctly in end-of-run stats.
8. Biomass is a heal, not just a resource. Fully harvesting a Biomass node restores 10 HP. On low-health runs, a Biomass detour is cheaper than a death.
9. Do not strip the spawn planet. The swarm escalates on a timer. Every extra node is minutes you did not spend defending.
10. Check the Star Map blueprint count. The map now shows how many blueprints each planet still holds. Use it to decide whether a planet deserves a full run or a single objective.
Base and pipes
11. The first pipe is a corridor, not a conveyor. Nodes are build platforms. Put a turret on the node nearest the enemy lane and the pipe starts paying for itself.
12. Build the escape line before the luxury line. A pipeline from the collector toward open ground is your 30-second exit. A pipeline toward a resource you will not finish is decoration.
13. One kill box beats four skirmish lines. Overlapping fields of fire concentrate damage. Scattered turrets each fight their own wave and lose.
14. Put turrets outside the arena, not in it. Especially against the Juggernaut. Turrets inside the fight get stepped on; turrets on the rim keep firing.
15. Repair the generator before the turret. A dead generator takes every connected turret offline. A dead turret is one gun; a dead grid is the whole lane.
16. Do not build across your own firing line. Walls that block your turrets are worse than no walls. Leave the corridor open and put the cover on the flanks.
Reward pods and builds
17. The first pod should solve a problem, not start a build. Movement, crit or turret support all work without setup. A Showstopper that needs three other mods does not.
18. Build a ten-card deck around one idea. The Mod Deck Builder limits pods to your chosen 10 common mods plus up to 2 Showstoppers. A focused deck produces focused runs; a pile of everything produces noise.
19. Take the starting weapon you have upgraded. The first pod now offers every weapon you have unlocked, so there is no reason to start with the tutorial gun once you own something better.
20. Stack bonuses that trigger on the same event. Crit-triggered effects compound because one shot can fire several of them. Spread your mods across unrelated triggers and nothing feels strong.
Pack habits that matter more than build
- Assign jobs out loud. One pipe builder, one power player, two fighters. A pack with no owner for the generator loses the generator.
- Call the extract, not the death. Whoever sees the swarm tier rising says "ship" first. Consensus after the fact is too slow.
- Leave the straggler. Once the countdown starts, a rescue attempt usually turns one lost run into two.
- Share the Grav Beam. Throwing a teammate a resource is faster than mining it twice, and throwing an enemy into a turret line is free damage.
If a decision cannot be completed in ten seconds, it is not a decision — it is a plan you should have made before the wave. Extraction, revive and repair calls all belong in that category.
What changed since the demo
Three demo habits are now traps:
- Hoarding mods. The deck builder means a wide collection no longer dilutes your pods; a badly built deck does.
- Ignoring the Courtesy Turret. Upgrading the Courtesy Turret mod now lets it spawn higher-tier turrets you own, which makes it a real support pick rather than a joke.
- Fearing the ground dash cost. It is free. Move.
If you are coming from the playtest rather than the demo, also note that Rocket Turrets have a smaller blast radius and slower fire rate, tanky enemies are less durable, and Gooper acid no longer causes damage over time. Several "mandatory" counters from September are now optional.
A five-minute pre-drop checklist
Before you leave the ship:
- Weapon selected and upgraded?
- Deck built (10 common + up to 2 Showstoppers)?
- Character picked for the pack's gap, not your favorite?
- Planet chosen for a reason — blueprint, resource, or objective?
- Extraction plan agreed: who calls it, which pipe is the exit?
Five questions, thirty seconds, and most of the avoidable deaths disappear.
FAQ
What is the single best tip for new players? Leave earlier than feels right. The swarm escalates on a timer, and extraction is the only action that converts effort into progress.
Are pipelines worth building if I am solo? Yes, but shorter. One resource line and one escape line. A solo player cannot defend a sprawling network.
Should I always take a Showstopper from a pod? No. Take it when your deck and current mods support it. Otherwise take the common mod that fixes your weakest moment.
Do tips differ on Xbox? The mechanics are the same. Controller movement makes lateral boosts easier, but pipeline grinding and turret placement are identical.
Where do I learn the base layouts? The pipe layout guide and turret placement guide have the blueprints referenced here.
Further reading
Summary
Free dashes, short pipes, one kill box, focused decks, early extraction. The beginner guide explains the first hour; the build guide explains how to turn tip 18 into a real deck.
More GRAVHOUNDS Guides
The best GRAVHOUNDS character for solo, duo, four-player packs and boss runs, with the reasoning and the loadout each hound enables.
How GRAVHOUNDS builds work: the 10-card Mod Deck, Showstoppers, weapon choices and the stack rules that decide whether a run snowballs.
How GRAVHOUNDS character unlocks work, why demo progress does not carry over, and the fastest progression path to the full five-hound roster.
Is GRAVHOUNDS crossplay? What is confirmed for Steam and Xbox at launch, what the developers have not announced, and how to check your own lobby.
How GRAVHOUNDS scales for one to four players, what changes on harder planets, and the build adjustments that keep each pack size alive.
A field guide to GRAVHOUNDS enemies: swarmers, Goopers, armored units and the Juggernaut, with the tell and the turret that answers each.