
A first-shift walkthrough for GRAVHOUNDS: what to mine, where to build, how pipes pay for themselves, and when to call the ship.
GRAVHOUNDS Beginner's Guide: Survive Your First Shift
Your first GRAVHOUNDS shift ends the moment you decide it ends — or the moment the swarm decides for you. The safe play is unglamorous: land, find Titanium, run one pipeline back to the collector, put two turrets on the line, and leave before the second swarm tier arrives. Most first deaths come from staying one reward pod too long.
GRAVHOUNDS launched into Steam Early Access on November 2, 2026, at $19.99 with a 25% launch discount, and it is also available on Xbox Series X|S through Game Preview and Game Pass on day one. The loop is 1–4 player online co-op: mine, build, defend, extract. Solo works after the tutorial, but the game is tuned around a pack.
Official source: GRAVHOUNDS on Steam ↗ — 1–4 player co-op action builder, Early Access November 2, 2026.
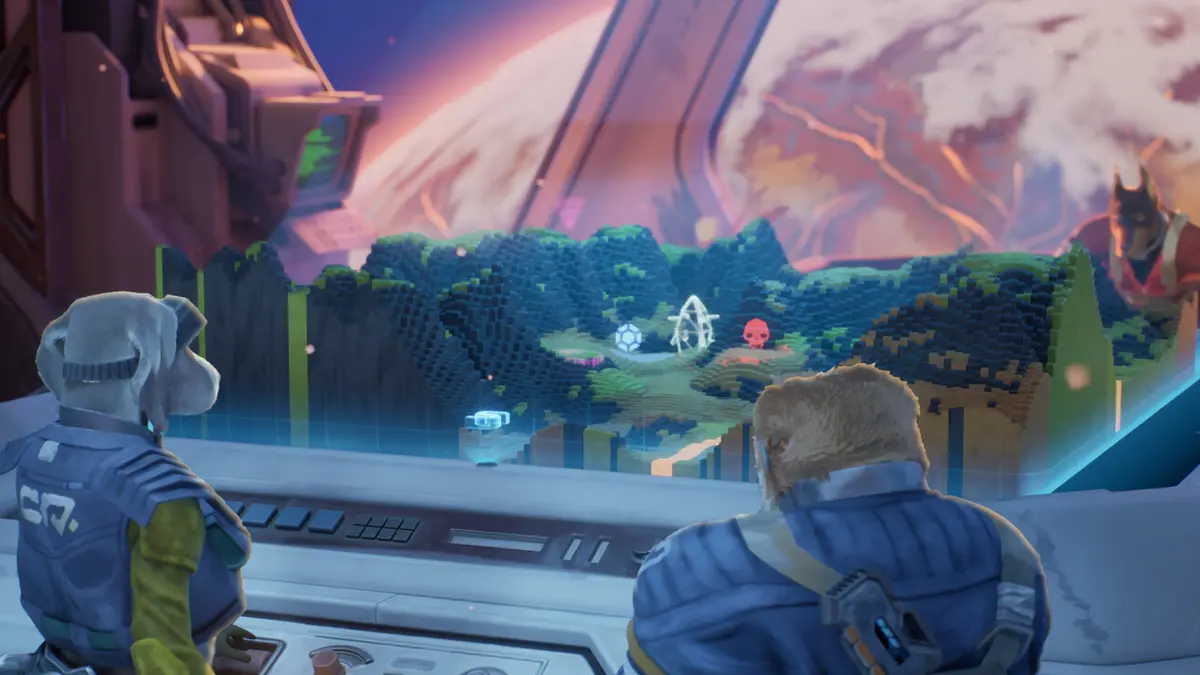
The first-shift checklist
| Minute | Do this | Why it matters |
|---|---|---|
| 0–2 | Land, ping one Titanium node, mine it dry | Titanium is the backbone of every early structure |
| 2–5 | Build the first pipeline segment from the collector toward the node | Resources thrown on a pipe travel back automatically |
| 5–8 | Place one generator and two turrets at the pipeline node | The node is a free firing platform |
| 8–12 | Clear the first wave, collect the reward pod | Your first mod defines the run |
| 12–18 | Bank one more resource load, then call the ship | The 30-second boarding window is unforgiving |
| 18+ | Board before the second tier spikes | A clean extraction beats a full backpack |
That is the whole first hour. Everything else — mod decks, character unlocks, blueprint hunting — is built on top of this rhythm.
Start with the collector, not the guns
The collector ship is your only ticket off the planet. It is also the anchor for every pipe you build. Before you buy a weapon upgrade, walk the landing zone and answer three questions:
- Where does the collector sit relative to the resource field? A collector parked on the edge of the map forces long pipes; a central landing saves minutes per run.
- Which approach does the swarm use? Most maps have two or three natural lanes. Your first turrets belong on the lane that reaches the collector fastest, not on the lane you happen to be facing.
- Where is the nearest high ground? Turrets on a ridge see further and waste fewer shots on terrain.
You do not get to move the collector later. If the landing zone is bad, extract and reroll the planet rather than sinking twenty minutes into a base that cannot be defended.
A pipeline is not just logistics. You can grind it for speed, and every node is a build platform. Treat the first three segments as a defended corridor, not a conveyor belt.
Mine in this order
Early GRAVHOUNDS gives you three resource families, and each one solves a different problem.
- Titanium builds the skeleton: structures, turret mounts, pipeline segments. If you are short on Titanium, you cannot expand.
- Electrium powers the base. It is the resource that turns a cluster of turrets into a defended position, and the Dev Log notes that breaking a core to release crystals directly onto a pipeline is one of the fastest collection methods.
- Biomass is sustain. Since the demo patch it heals 10 HP when fully harvested, which makes it the difference between holding a lane and retreating through it.
A practical first-run quota: two full Titanium loads, one Electrium load, and whatever Biomass you pass on the way. Do not strip the map. The swarm escalates on a timer, and every extra minute of mining is paid for in turret ammo and health.
If you want the full node-by-node route, the resource farming guide breaks down which planets are worth stripping and which are traps.
Build a base you can actually crew
A four-player base and a solo base are different objects. In a pack, one player can own the pipeline, one can own power, and two can fight. Solo, you are all four jobs at once, so the base has to be smaller and closer to the collector.
The beginner mistake is a beautiful, sprawling base with no defended interior. Swarms do not walk into your kill box because it looks good; they walk into it because the collector is behind it. Put the collector at the back of a short corridor, put the corridor's mouth under overlapping turret fire, and leave yourself a straight grind line home.
The base building guide covers footprint and build order in detail. For the first shift, remember only this: one corridor, two turrets, one generator, one exit.
Take the first reward pod seriously
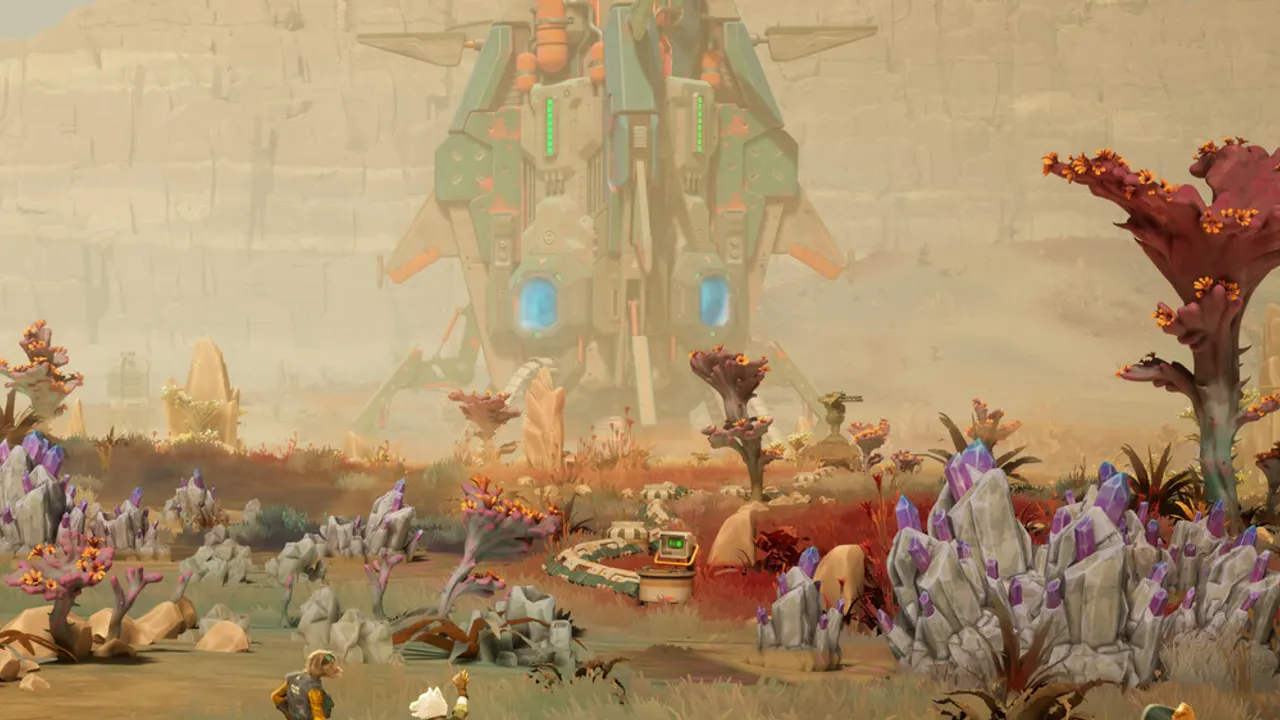
Killing enemies and completing objectives fills a meter. When it caps, you can call a reward pod and choose one of three mods drawn from your unlocked pool. Your first choice shapes the next ten minutes more than any weapon.
For a first run, prefer mods that do not require you to stand still: movement, crit, turret support, or anything that adds damage while you are relocating. Avoid build-defining Showstoppers until you know the map, because they tend to demand a specific setup.
The build guide explains how the Mod Deck Builder constrains those three choices, and the best build page shows what a finished crit chain looks like.
Know when to leave
The launch countdown gives you 30 seconds to get back to the collector. That is not enough time to cross a canyon, finish a fight, and loot a corpse. Decide to leave before the timer starts:
- You are below half health and out of Biomass.
- The next swarm tier is about to spawn and your turrets are at half structure.
- You have completed the objective and the reward pod is already claimed.
- A teammate is down and the nearest revive is through the swarm, not behind it.
Call the ship, grind the pipeline home, and bank the run. In GRAVHOUNDS, a modest extraction funds the next attempt; a greedy death funds nothing.
The extraction guide has the full decision tree, including what to drop when you are overloaded.
Controls and movement habits
The movement core is boost and dash, and the pipeline is a highway. Two habits separate new players from comfortable ones:
- Dash is free on the ground since the demo patch. Use it to reposition between shots instead of walking.
- Grinding a pipe is faster than sprinting, but you cannot shoot while committed to a long grind. Break line of sight before you travel, not during.
The Grav Beam is the third habit. Grab loose objects and throw them at enemies, or grab an enemy and throw it into the swarm. The store page warns that transporting volatile materials with the Grav Beam can cost you a Gravhound, which is game-language for "do not carry explosives through your own turret line."
Five mistakes that end first runs
- Building wide before building tall. Four scattered turrets lose to two upgraded turrets covering the same lane.
- Ignoring power. A turret without a generator is scenery.
- Mining through the first swarm. The wave arrives on a timer, not when you finish.
- Splitting the pack. Two players on opposite sides of the map means two small fights you lose separately.
- Treating the collector as a backpack. It is the escape route. Defend it before you decorate it.
FAQ
How long is a GRAVHOUNDS run? A first shift is 15–20 minutes. Experienced packs push 30–40 minutes for rarer materials, but the swarm escalates the whole time.
Can I play GRAVHOUNDS solo? Yes, after completing the tutorial. Solo sessions are playable but less forgiving; the game does not scale the swarm down as much as it scales your options up.
Do I lose everything if I die? You lose the run's unbanked loot. Permanent unlocks and Research Points earned from milestones are the long-term progression, so a failed run still advances your lab.
What should I unlock first? A weapon you actually like, then the mod deck slots. The upgrade path guide has the full priority order.
Does GRAVHOUNDS have crossplay? Octopus Panic has not announced crossplay. PC and Xbox builds exist, but sessions are platform-side and player-hosted at launch. See the crossplay guide for the current status.
Further reading
Summary
First shift, in one sentence: mine Titanium, run one pipe, power two turrets, take one pod, leave early. The walkthrough turns that into a planet-by-planet route, and the tips page covers the habits that keep runs alive once the swarm tiers stack.
More GRAVHOUNDS Guides
How GRAVHOUNDS builds work: the 10-card Mod Deck, Showstoppers, weapon choices and the stack rules that decide whether a run snowballs.
Build a GRAVHOUNDS base that survives escalating swarms: site selection, four defensive layers, power placement and layouts for solo to four players.
A practical GRAVHOUNDS Juggernaut guide: arena preparation, phase behavior, turret placement, team roles and the mistakes that wipe the base.
How GRAVHOUNDS character unlocks work, why demo progress does not carry over, and the fastest progression path to the full five-hound roster.
Every playable Gravhound at Early Access launch: Zane, Finn, Dozer, Selene and Luna, their abilities, stats and the co-op roles they fill.
How GRAVHOUNDS scales for one to four players, what changes on harder planets, and the build adjustments that keep each pack size alive.